Rails Health Check Setup Guide
You need to know if your Rails application is working. Rails health checks allows your app to self heal and notify you about issues. Let’s set it up!
Contents
Setup Dependencies
Rails recently added the Rails::HealthController, but it’s only available in version >= 7.1. If you don’t want to upgrade, you can follow the linqueta/rails-healthcheck setup guide.
Installing Rails 7.1 from git
Edit your Gemfile and make the following changes:
					# Bundle edge Rails instead: gem "rails", github: "rails/rails", branch: "main"
# gem "rails", "~> 7.0.4", ">= 7.0.4.3" -- original
gem "rails", :git => 'https://github.com/rails/rails', :ref => '539144d' # rails with HealthController
Save your edits and run bundle install to install your dependencies.
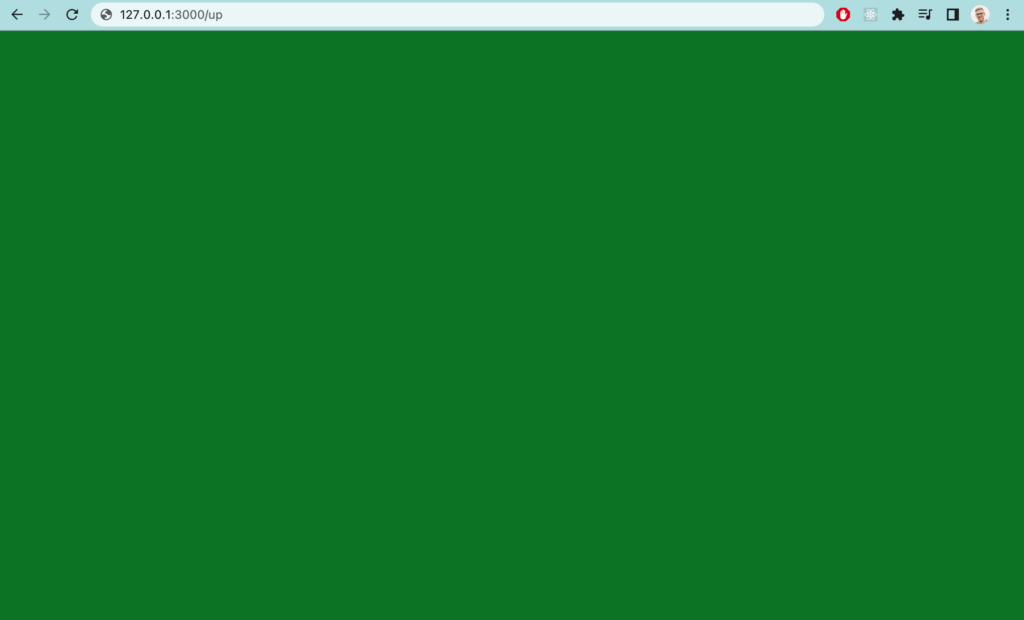
Check Your Installation
Your application should now have a health check endpoint at 127.0.0.1:3000/up. You should see a green screen like this.
Configuring Startup Checks
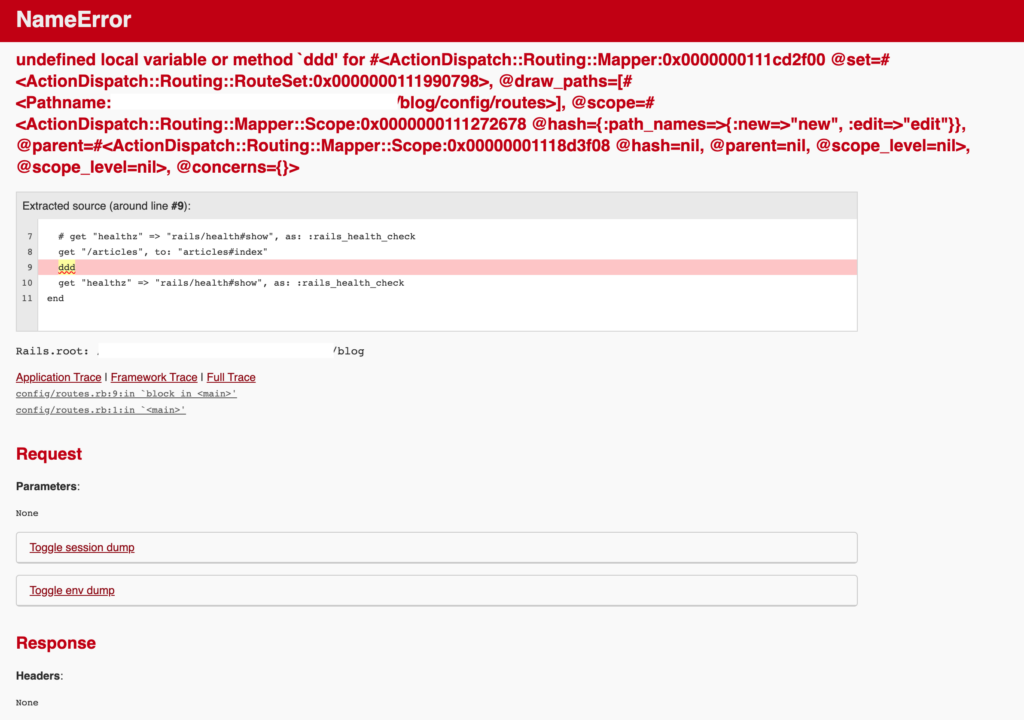
Your application may fail during startup because of invalid syntax or missing dependencies. By default Rails::HealthController will check your application for these startup exceptions. You don’t need to do anything to set this up.
You can test your health check by writing some invalid code in one of your .rb files and loading up 127.0.0.1:3000/up. You should see a an error screen like this:
Configuring Runtime Checks
Your app may also fail during the normal course of operation. You may run out of memory, have a dependency fail etc. If a dependency fails, we’d like an alert, but we don’t need to restart our app. On the other hand, if we run out memory, we should redirect traffic to another server and let our orchestration system restart the app. To make this work, let’s create two health checks.
Our first health check will check for application issues (like running out of memory). We can let the Rails::HealthController deal with this. Since it catches exceptions like this by default, there’s nothing more to do here. The endpoint for this is /up.
Second, we need to create a custom route to check our upstream services. Add create a new controller called CustomizedHealthController. You can use the rails generate controller CustomizedHealthController command to generate it for you.
Building Service Checks
Let’s setup your controller in customized_health_controller.rb. Update the inheritance to inherit from Rails::HealthController. Next, create a method called
upstream that will do our upstream checks. In here, we’ll call things like check_active_record and check_mail_service.
					class CustomizedHealthController < Rails::HealthController
  def upstream
    # todo
  end

  def check_mail_service
    # todo
  end

  def check_active_record
    # todo
  end
end
Next, we need to a status object so we can report on specific statuses. We’ll also need a way to check if the statuses are ok, or in error state. Here’s a stub to get you started
					class UpstreamStatus
  attr_accessor :active_record, :mail_service

  def is_ok
    active_record == STATUS_OK and mail_service == STATUS_OK
  end
end
If we jump back to our
CustomizedHealthController, we can fill out the methods. Let’s fill out the upstream method. Upstream, needs to call our checks and fill out our UpstreamStatus object.
					def upstream
    status = UpstreamStatus.new
    status.active_record = check_active_record
    status.mail_service = check_mail_service
    # ...

    render_upstream(status: status, ok: status.is_ok)
end

def check_mail_service
    # todo
    return STATUS_OK
end

def check_active_record
    begin
        ActiveRecord::Base.establish_connection
        ActiveRecord::Base.connection
        if ActiveRecord::Base.connected?
        return STATUS_OK
        else
        return "Failed to connect"
        end
    rescue => e
        return e.full_message
    end
end
Finally, we just need a render method to show our result. Here’s an example you can use:
					private
  def render_upstream(status:, ok:)
    http_status = 200
    unless ok
      http_status = 503
    end

    render json: status, status: http_status
  end
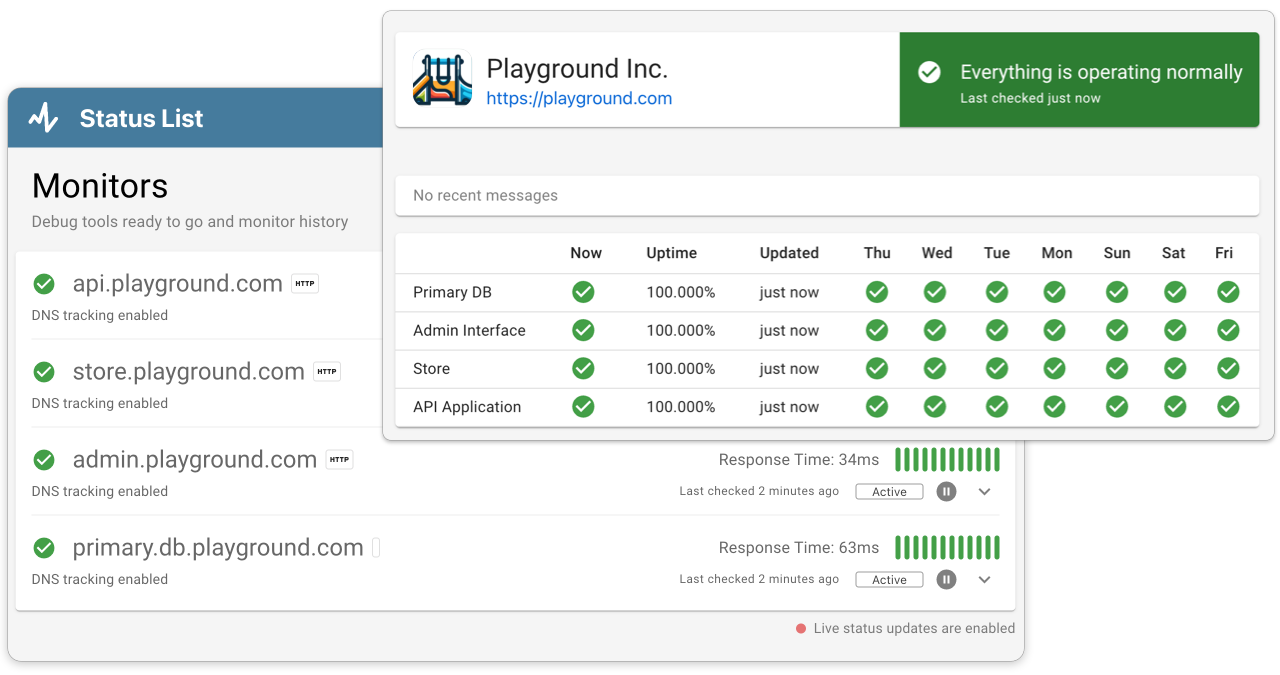
Ready to know about downtime before your customers?
Status List delivers uptime monitoring and professional hosted status pages for sites of all shapes and sizes.
Trusted by 1000+ companies
Setup Health Check Routes
Once we have our startup and runtime checks configured, we need to set routes for them. By default Rails::HealthController will use the /up route, but we can customize that.
Open your route.rb file add the following routes:
- /health/app: Shows our application’s uptime (startup and memory-type of issues). This status is not affected by upstream services.
- /health/upstream: Shows our upstream service statuses. This uses our new
upstreammethod.
Here’s an example of how this might look.
					get "/health/app" => "customized_health#show", as: :rails_health_check
get "/health/upstream" => "customized_health#upstream"
You can also customize those routes if you have something else you prefer (e.g. /healthz, /up)
Test it out
Once you have your routes defined, let’s check that your health checks are working correctly. Open your browser and let’s test it out.
Startup and App Check
Open 127.0.0.1/health/app. You should see a nice solid green page.
Now, edit one of your .rb files to have some invalid code and refresh the page. You should now see an exception page with a 500 status code.
Upstream Check
Open 127.0.0.1/health/upstream. You should see a nice JSON message and a http status of 200 on the response.
Now, edit your upstream check to return a failure on one of your services. Refresh the page. You should see your error shown in the JSON output and a http status of 503.

Setup Uptime Monitor
Once you have your checks setup, it’s time to setup your uptime monitor. Log into your uptime service and add monitors for both of your services. You’ll want to check both /health/app and /health/upstream separately. You may also want to configure a minimum response time for /health/app to ensure your app is responsive.
You may also want to show your app’s status on your status page. Ensure you update your status page configuration to pull your uptime stats in to your status page.
Putting it all together
You now have uptime checks and alerts for your Rails application. If your app runs into issues you’ll be the first to know.
You may also be interested in our Heroku Uptime Service.